If I had a better computer with a better camera, I would record a video of myself changing the set. As it is, my camera is of very poor quality, so I'm going to stick with words and pictures. It's such a shame my camera is crap; I have such a lovely voice. My apologies if this is too tedious.
Make sure you've chosen a spot where you can pinch an inch of skin up. As I've mentioned in previous posts, I have put sets in my abdomen, butt flesh, arms, legs, and boobs. After your clean your hands and insertion site, take the plastic cover off the introducer needle and fold back the front flap of adhesive (DON'T take off the adhesive cover). It should look like this:

Now turn that around in your hand so the adhesive side will be toward the skin and the introducer needle side will be facing up. It's suggested that you insert these sets at a 30 degree angle, which for reference, looks like this:
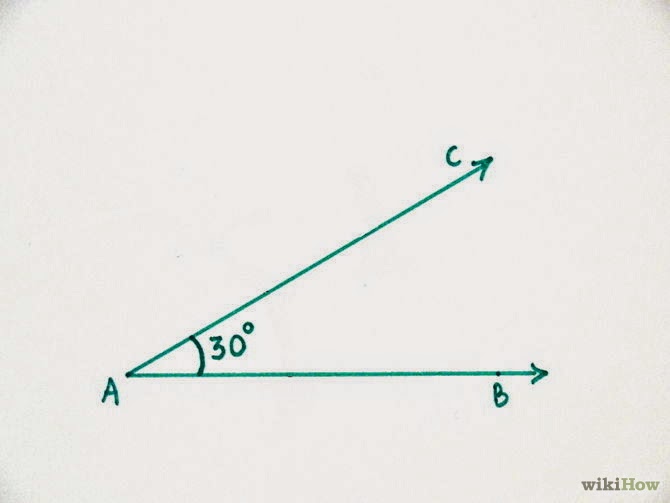
Your skin should be the line AB and the needle should be line AC, in case you didn't realize that. For insertion, you can choose to pinch up the skin. I do this when I'm using my leg, but nowhere else. Now, take a deep breath and push that sucker in!
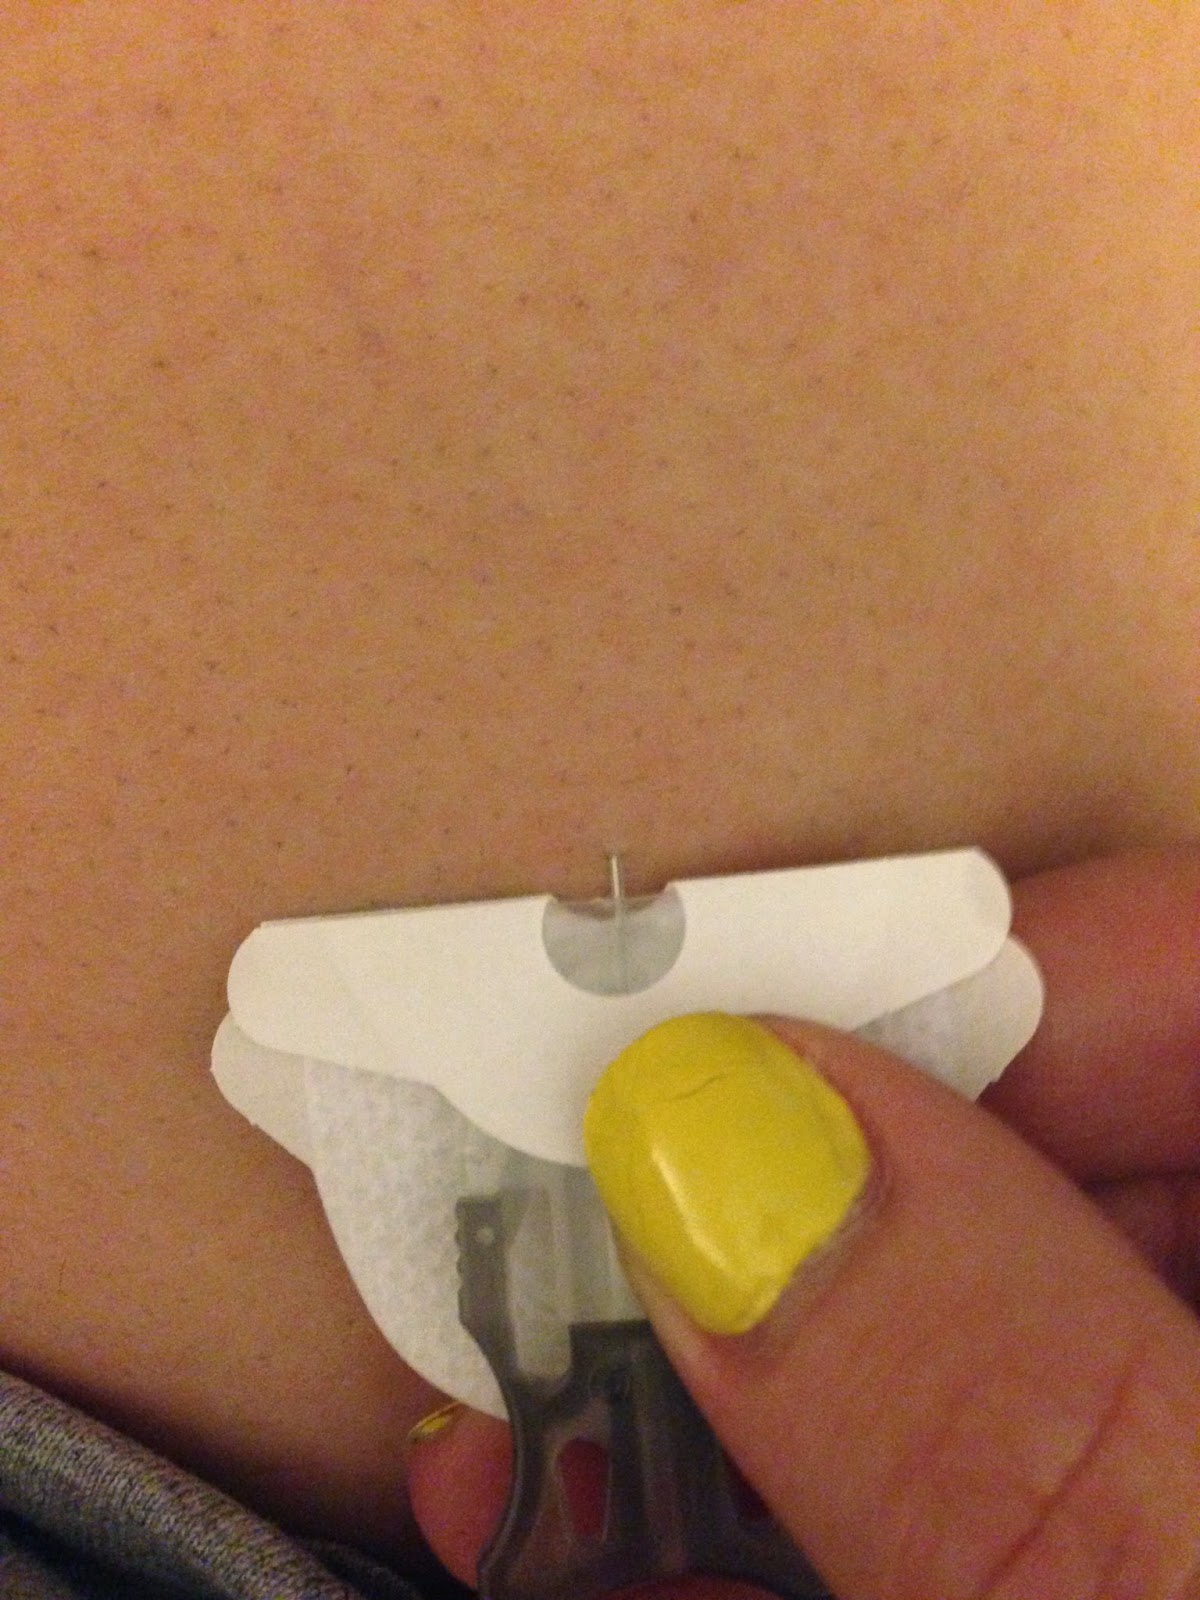
When removing the adhesive backing, first remove the smaller one, while leaving the needle in.

Make sure you've chosen a spot where you can pinch an inch of skin up. As I've mentioned in previous posts, I have put sets in my abdomen, butt flesh, arms, legs, and boobs. After your clean your hands and insertion site, take the plastic cover off the introducer needle and fold back the front flap of adhesive (DON'T take off the adhesive cover). It should look like this:
Now turn that around in your hand so the adhesive side will be toward the skin and the introducer needle side will be facing up. It's suggested that you insert these sets at a 30 degree angle, which for reference, looks like this:
Your skin should be the line AB and the needle should be line AC, in case you didn't realize that. For insertion, you can choose to pinch up the skin. I do this when I'm using my leg, but nowhere else. Now, take a deep breath and push that sucker in!
When removing the adhesive backing, first remove the smaller one, while leaving the needle in.
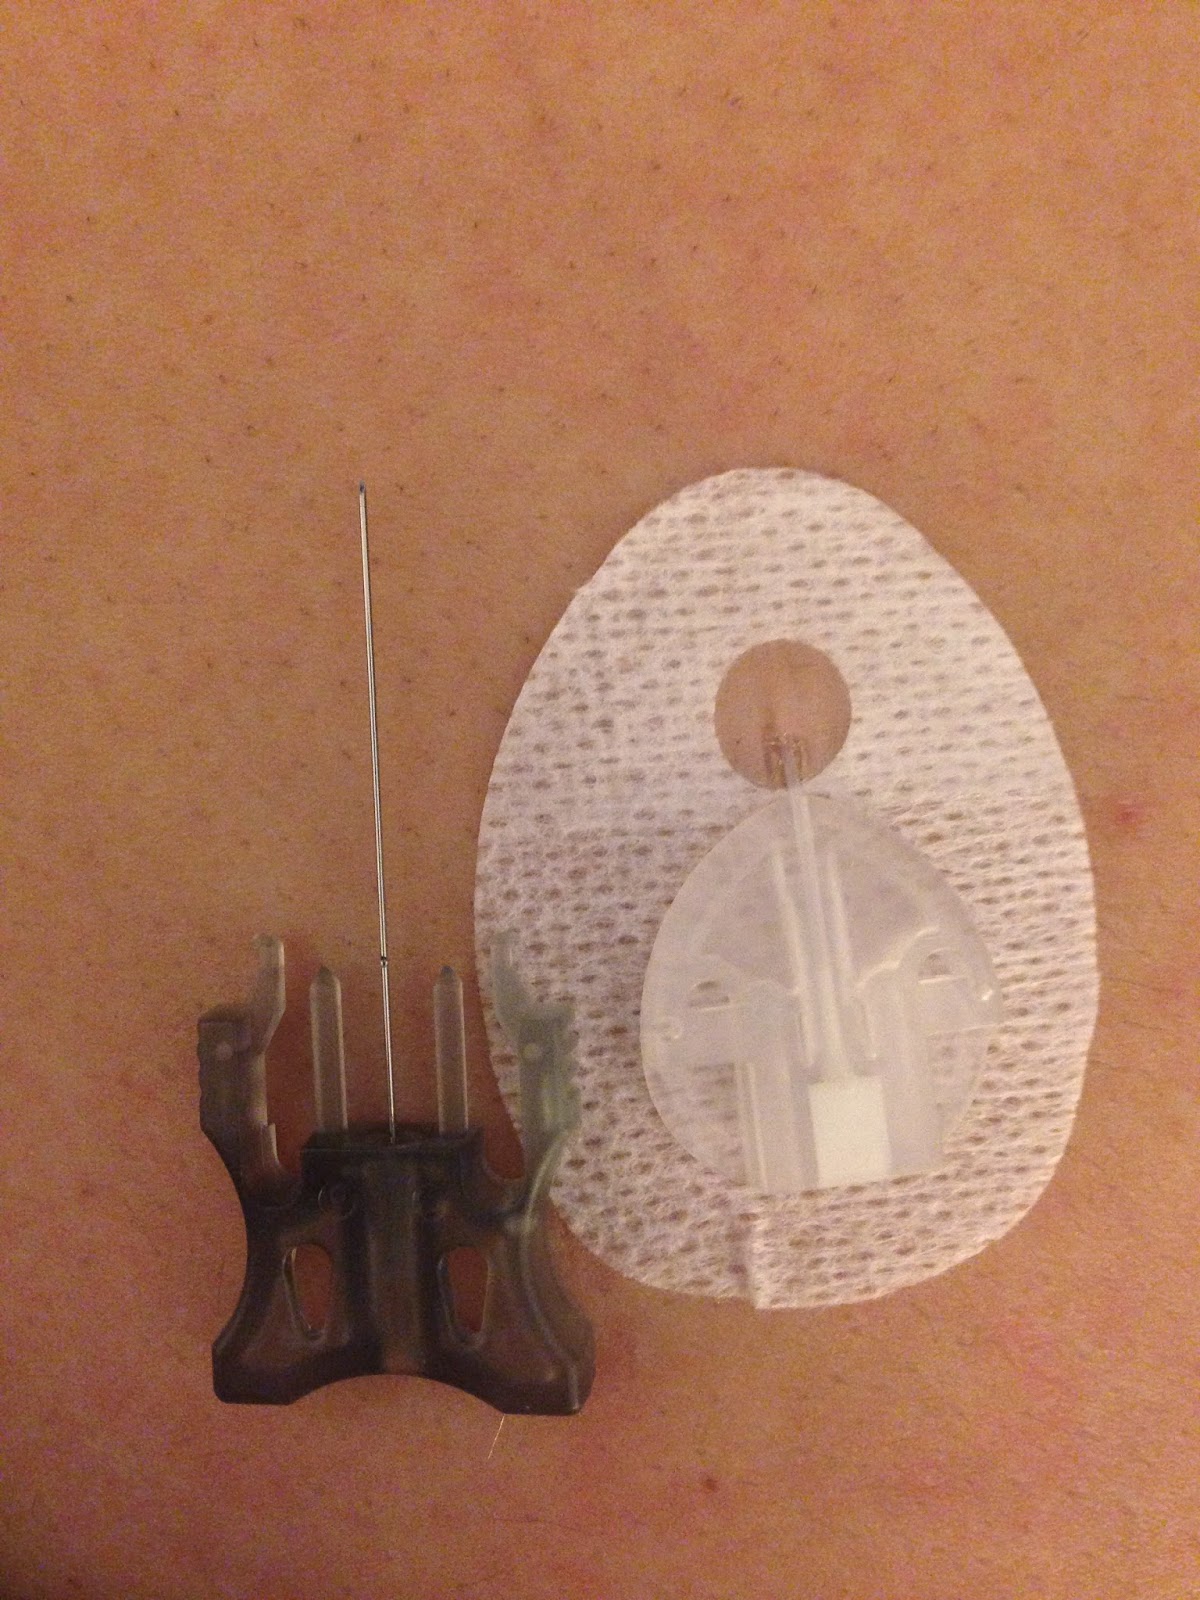
Next remove the needle, and THEN the second adhesive flap.
Voila! Now you just need to prime the tubing as usual and prime the cannula. With the 13mm cannula, it takes .7 units to prime the cannula. If you don't prime it, that's almost an entire unit of insulin you're missing!
That's all I have on how to insert these babies manually. If you have any questions, let me know!
No comments:
Post a Comment